

Please hold on while we load everything up...
(This may take a minute if there are a lot of photos in the series)
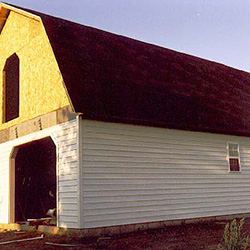
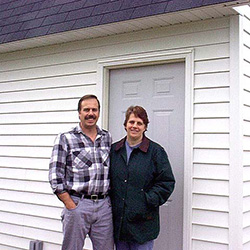
In February 2000 we featured the brand new Gambrel Barn Workshop of Bob Kosty. Bob, an electronics technician for Kodak, and his wife Nancy, a Senior Human Resource Professional at Fleet Bank, make their home about 40 miles east of Buffalo, NY in the little town of Batavia, Genesee County, population just over 16,000. The Kostys used our BarnPlans, Inc.¨ 24'x 30' two story Gambrel Garage/Shop plans to build their 24'x 32' Workshop.
Bob did such a remarkable job not only on his barn, but on documenting the whole project as well, that we'll just let him tell the story, albeit in a slightly condensed version.
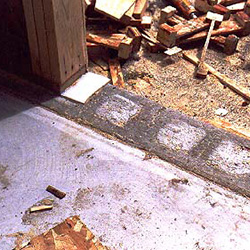
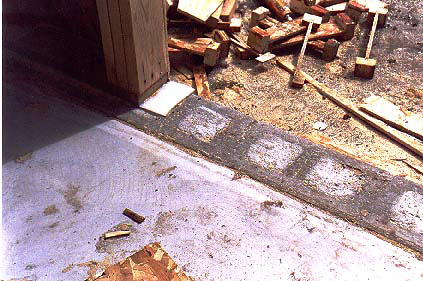
At 11:00 am, the first concrete truck showed up with 8 yd. of 2500# cement on board. We shot that in and he went for another load of 7 yd. As the cement was poured into the trench, we were leveling it out to roughly 2" below soil level. The next step was to get the lines stretched and the first row of blocks laid in the cement while it was still wet. I put the anchor bolts in at this time too.
On June 19th, with the help of my bro-in-law Jim Creeley and friends, Chip Leavy, John Mudrinsky and Tony Christopher, and of course, Nancy my wife, we poured the floor. I used 4000# fiber reinforced concrete. The excess cement was used to fill the cores of the block wall.
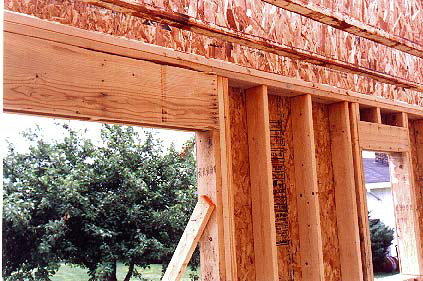
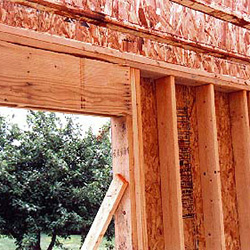
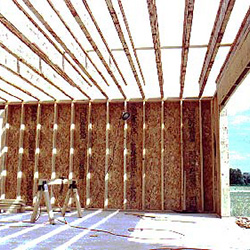
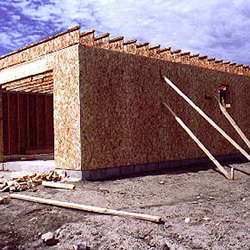
Starting around June 21, we built and stood the walls using 2x6 studs to carry the extra weight that was applied by eliminating the center posts and beam.
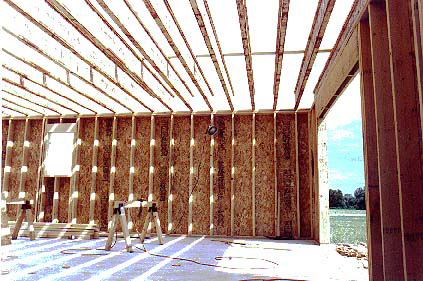
Nancy and I set the 'I' joists and decked the floor with T&G "ADVANTECH" floor sheathing, a new OSB flooring guaranteed not to delaminate for 50 yr. It's more uniform and cheaper than plywood.
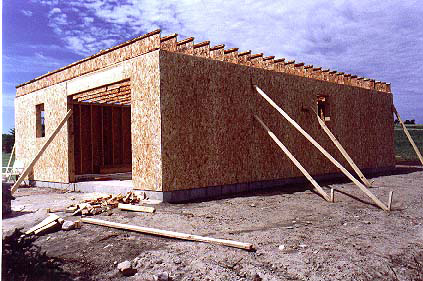
I did a lot of research on the engineered 'I' joists to see if they would be acceptable to use in the barn. I ended up using 14"x 24'Georgia-Pacific joists from a local lumberyard.
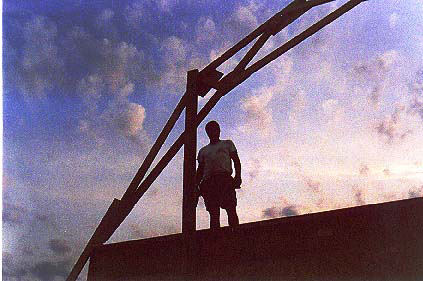
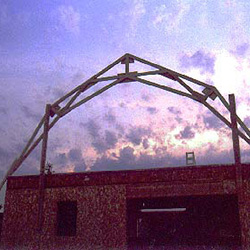
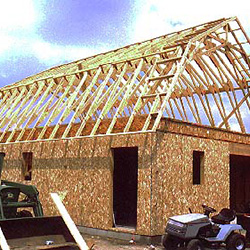
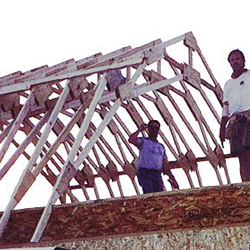
Most of July was spent building and raising the trusses.
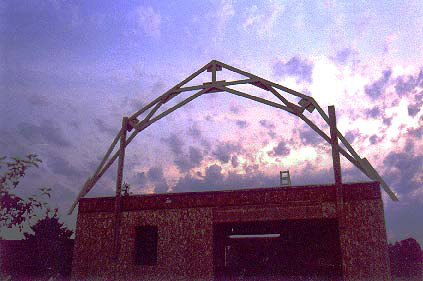
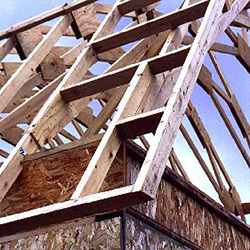
Preceding the actual assembly of the trusses, I spent many hours cutting and stockpiling the various plywood gussets, rafters and braces for the trusses. (After I had assembled one to test the fit) I assembled a few of the trusses by myself, including two drop trusses.
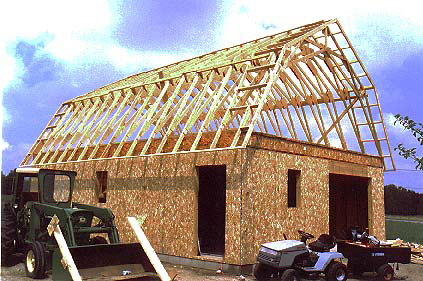
These drop trusses were used as each end truss.
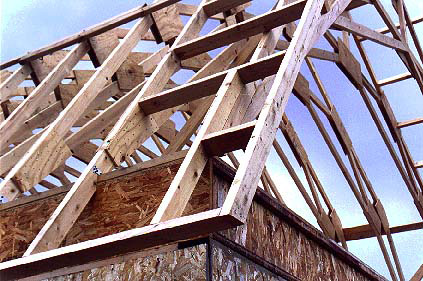
This allowed me to put the perlins on edge, without having to notch the end truss. I raised the two drop trusses and braced them in position. As I built the rest of the trusses, I stood them up against the far end truss to keep them out of the way, tacking them together with strips of scrap plywood to hold them in place.
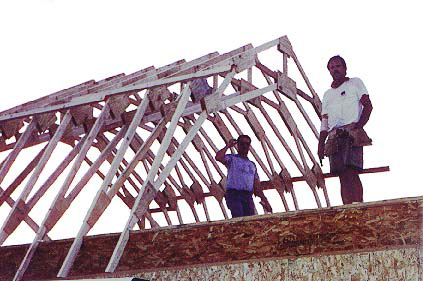
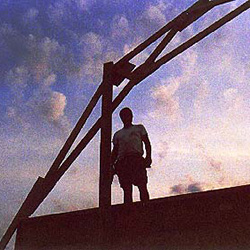
One Saturday in late July, Jim came up and helped me build and set the rest of the trusses. I anchored them to the rafter plate using metal hurricane straps and 1 5/8" drywall screws. (lots!!) You'll see by the pictures that it was a very hot day, I'm on the right.
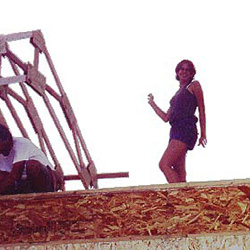
The other picture is of my youngest daughter Lauren, flauntin'. As a note, I used construction adhesive on all the gussets. Good ol' liquid nails for projects. For the cost of $1.04 per tube and the time it took, I figure it was well worth it for the added strength.
By now it was mid Aug. I spent most of the rest of that month shingling the roof evenings and weekends. I used a pneumatic 1" roofing stapler, on loan from Chip. I also used a safety belt tied off to the opposite side from which I was working. I never needed it, but I sure could work with less discomfort knowing that I had it on.
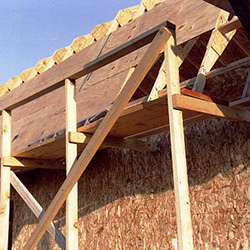
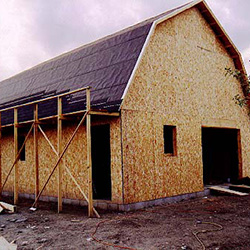
As a friend had recommended, I built the now famous walkways along each eave. If there were one tip to give to your future barn builders, this would be it. It only took about 24 2x4x10's and 4 2x10x16' planks to build these, plus a few scraps for bracing, screws, and the metal joist hangers. It took me about 4 hr. to put it up by myself. It was worth 100 times the effort in payoffs!
I was able to sheath the steep sides of the roof from the walkways, lean a stepladder up against the roof to reach up higher and over the hip, and shingle the roof up to about 3' past the hip. All by standing on or placing a stepladder up from this walkway. All tolled, I drove 4,000 framing and 16,000 sheathing nails through my air nailer, not including roof shingles or siding. Time to get off the roof and tear down the beloved walkways. Boy, was I ever glad to finally be off the roof! And without any bodily harm too!
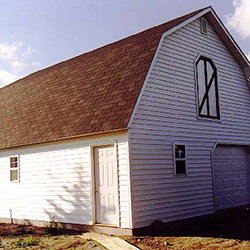
The building was then wrapped with TYPAR, a vapor/draft barrier. I installed the six vinyl windows and steel entry door, along with the vinyl brick molds and jambs around the door openings.
By September it was time for vinyl siding. The lower parts of the building were simple. Mostly straight, easily done using a stepladder.
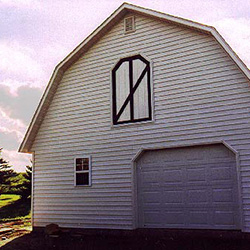
My friend Chip Leavy, who does small construction jobs, came to the rescue again with several pump jack and four 2x10x16' planks, so I could easily and safely move up and down along the gable ends to complete the siding job. I decided to throw in a couple 12x18 gable vents while I was at it. I finished off the job by installing my 9'x 7' steel insulated garage door, and building and installing my 4'x 6 ' loft doors. These were constructed out of 5/8" T1-11 and 1x4 pine trim, painted several coats before assembly. They are the appearance feature of the barn.
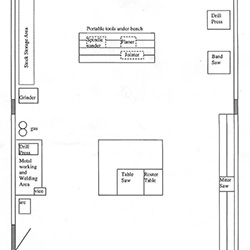
Also, here's a basic floor plan of how the workshop will be arranged....eat your heart out, Norm!!
I have about $13,000 invested. I spent a little extra on some things. I went with a 42" deep footer, fiber reinforced concrete slab, all hem-fir lumber, better siding, insulated doors/windows, 25-yr. asphalt shingles, engineered joists, and Advantech flooring. And I bought the lumber at the peak of the season, when the prices were higher. If I had had a place to store it, I would have bought some of the materials in the winter during the off season. One example was the 7/16" OSB. In Feb it was on sale for $6.88 ......when I got mine, it was $14.00!
Well Dano, that's it! I'm sure it's way more info than you ever wanted! It has been a fun, interesting, rewarding, sometimes frustrating, and proud experience for me. I couldn't have done it without the help of friends, my bro-in-law and mostly my wife, who has suffered through me barking at her often to vent some of my frustrations but who has always been by my side through this and almost 25 years of marriage.
Dano, I want to thank you and your crew for being there with support through e-mail and phone calls through the entire project, too. It's been a pleasure working with you.
You can go through the photos by choosing from the thumbnails up at the top.